Install MongoDB Server, MongoDB Shell, Compass on Windows
Here you will learn how to install MongoDB server, MongoDB Shell, and compass on your local Windows machine.
Visit www.mongodb.com to download the MongoDB installer for your required platform.

Here, we are going to install a free MongoDB database server on our local Windows machine. So, click on the Product menu -> Community Server, as shown below.

This will open a download page where you can select the version, platform, and package options.
Here, we will download the latest version of MongoDB, Windows platform, and msi file as a package, as shown below.

Click on the Download button to download the installer file.
Once fully downloaded, click on the msi file to start the installation wizard, as shown below.

Click Next to start the installation.

Check the "I accept the terms in the License Agreement" checkbox and click Next.

Here, you will have two options for installation: Complete and Custom. The complete option will install all the features. The custom option allows you to select only required features.
You can select either of these two options. Here, we will select the custom option just to show you what all things it will install. So, click on the Custom option which will take you to the next step, as shown below.

In the custom setup page, expand the MongoDB node to see what all features will be installed. It will install Server, Client, Router, and Miscellaneous Tools for the MongoDB database. It also displays the location where the MongoDB is going to be installed. You may change it or keep the default location and click Next.
Click Next to configure the MongoDB service, as shown below.

MongoDB server will be installed as a service on your local Windows machine. As you can see above, you have an option to run a service as Network Service user or as a local or domain user. We will select "Run service as Network Service User" radio button.
You may change the default service name but it is recommended to keep the default "MongoDB" name to identify it easily.
MongoDB database stores the data as BSON files on your local machine. You can change the default location where the data files and log files are going to be stored. Here, we will keep the default paths and click the Next button.
On the next page, select "Install MongoDB Compass" checkbox and click Next. MongoDB Compass is a GUI tool for MongoDB database where you can visually explore data, run queries, and optimize performance.

Next, click on the Install button to start the installation.

It will take a few minutes to install. Once installed succefully, click on the Finish button to close the wizard.

It will also open MongoDB Compass, as shown below.

MongoDB Server
We installed MongoDB as a Network service. To see this, open Services by searching "service" in the windows search box and click on the Services app, as shown below.

On the Services window, navigate to MongoDB Server, as shown below. You will find that it is already up and running.

Now, the MongoDB Server service is already running, you can connect the MongoDB client to connect with this MongoDB server and execute the commands.
MongoDB Client
MongoDB clients can be your application, MongoDB Shell, MongoDB Compass, or anything which wants to connect and store data to the MongoDB server.
Here, we already installed two clients, MongoDB Shell and MongoDB Compass.
Go to the path where MongoDB was installed. By default it is "C:\Program Files\MongoDB\Server\5.0\bin", as shown below.

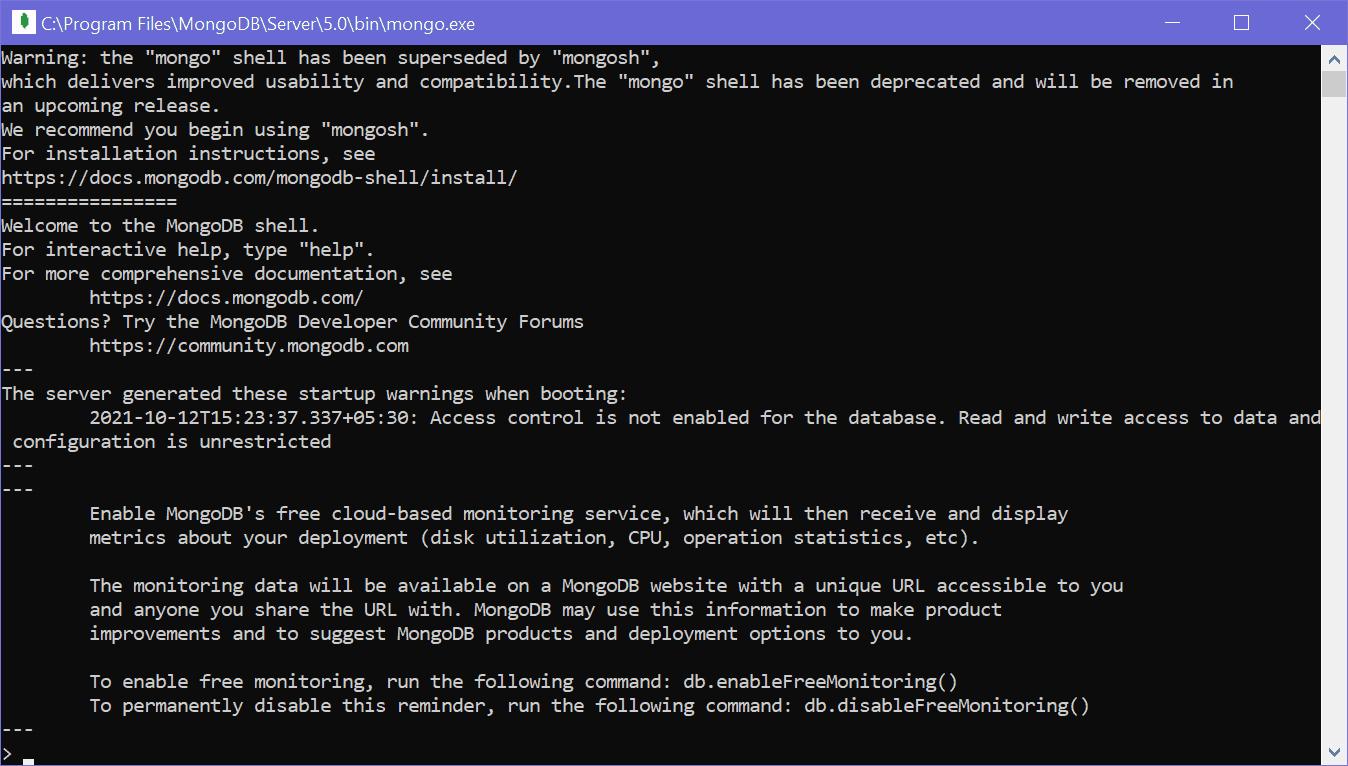
Here, you will find mongo.exe, which is MongoDB Shell. Click on mongo.exe to start the client, as shown below.

You can execute the commands here. For example, write "show dbs" and press Enter to display the database it already has, as shown below.

Thus, you can install the MongoDB server, clients (MongoDB Shell and Compass), and other features.
